
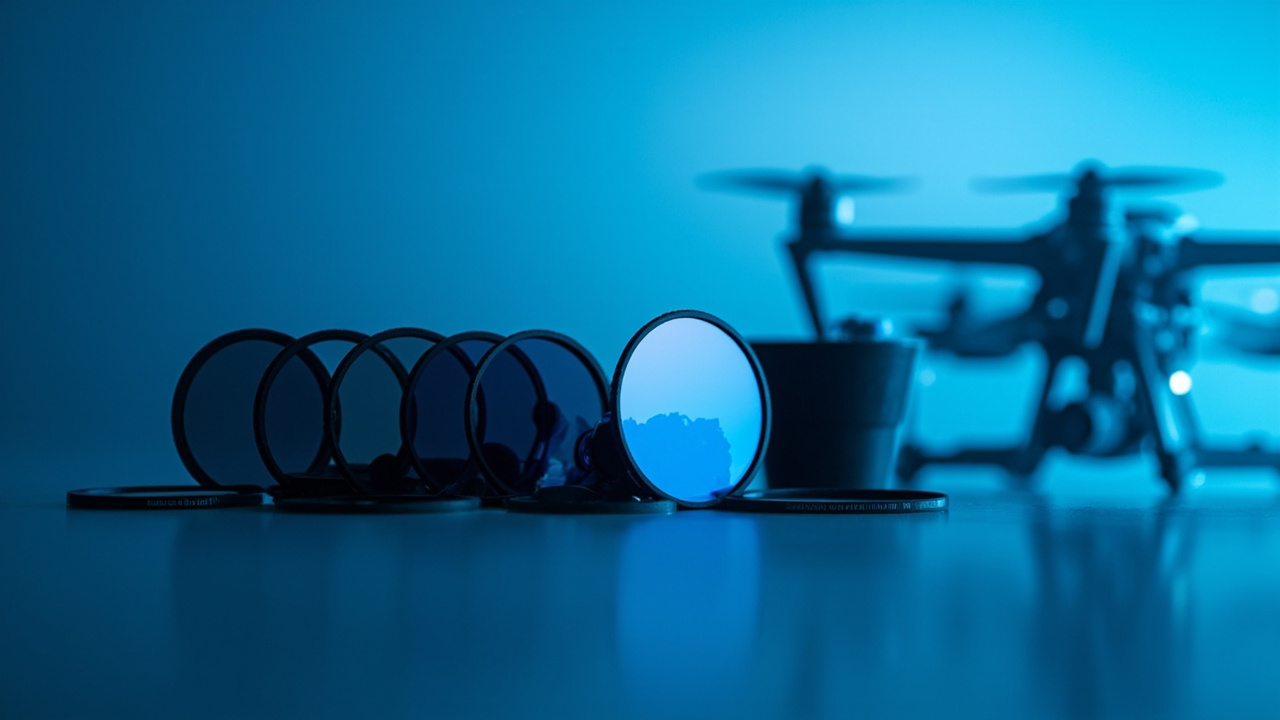
Meta description: ND filters drone photography guide — when to use them, which ones to buy, and how to apply them in the field. Practical advice for drone pilots.
Bottom Line Up Front
Use ND filters on your drone whenever you’re shooting video in daylight or trying to capture motion blur in stills. For most drone pilots, buy a four-filter set covering ND8, ND16, ND32, and ND64 — that’s the practical sweet spot for everyday aerial work.
What Are ND Filters and Why Do They Matter for Drone Photography?
ND (Neutral Density) filters reduce the amount of light reaching your drone’s sensor without affecting color. They come in different strengths measured in "stops" — an ND8 filter cuts light by three stops, an ND64 by six stops, and so on.
In drone photography, this matters for two reasons:
- Video: Faster shutter speeds make footage look choppy and unnatural. ND filters let you slow the shutter down while maintaining proper exposure, producing that smooth, cinematic look.
- Still photography: ND filters enable longer exposures that blur moving elements like water or traffic, adding a professional polish impossible to replicate in post.
Without an ND filter in bright conditions, you’re forced to either crank up your shutter speed (ruining video) or open your aperture and crank ISO (introducing noise). It’s a no-win scenario.
When to Use ND Filters
ND filters are not always necessary. Here’s how to decide.
For Video: The 180-Degree Shutter Rule
Match your shutter speed to roughly double your frame rate. At 24fps, use a 1/50 second shutter. At 30fps, use 1/60 second. This produces natural-looking motion blur.
In bright sunlight at ISO 100 and f/2.8, your camera will struggle to hit those slow shutter speeds — it will want to use 1/1000s or faster. That’s where ND filters earn their place.
Rule of thumb — use ND filters for video when:
- Shooting mid-day or in open daylight
- Wanting cinematic motion blur rather than frozen frames
- Flying with your aperture wide open and ISO already at its minimum
- Conditions prevent you from hitting the 180-degree shutter guideline
For Photography: Motion Blur and Long Exposures
ND filters unlock creative stills that are otherwise impossible at ground level:
- Silky smooth waterfalls and ocean waves
- Blurred vehicle light trails at night
- Soft, gauzy cloud streaks
- Removing people and traffic from busy scenes
When NOT to Use ND Filters
Skip them when:
- Lighting is low — overcast days, golden hour, shade
- You’re shooting in Auto mode and the camera is already compensating
- You need fast shutter speeds for sharp action shots
- Battery is low — longer exposure times eat into flight time
Which ND Filters to Actually Buy
This is where practical experience saves you from wasting money.
Understanding Filter Strengths
| Filter | Stops | Best For |
|---|---|---|
| ND4 | 2 stops | Light shade, early morning |
| ND8 | 3 stops | Overcast days, open shade |
| ND16 | 4 stops | Partly cloudy, moderate sun |
| ND32 | 5 stops | Bright sun, reflective surfaces |
| ND64 | 6 stops | Harsh midday sun, snow/sand |
| ND1000 | 10 stops | Long-exposure stills only |
Key Buying Criteria
1. Match Your Drone’s Mount
Filters that fit one drone brand rarely work on another. Check your drone model before buying. Most DJI drones use removable lens caps or integrated filter systems. Freewell, PolarPro, and San Blas make drone-specific sets.
2. Optical Quality — This Matters More Than You Think
Cheap ND filters introduce color casts — warm orange or cold blue tints that show up in your footage and are difficult to correct. You’re flying a camera worth hundreds of dollars. Don’t pair it with bargain-bin glass.
Look for:
- Multi-coated optics for sharpness and no flare
- Neutral color reproduction
- Aircraft-grade aluminum frames
3. Start With Four Filters
A four-filter set covering ND8 to ND64 handles the vast majority of real-world situations. It’s compact, affordable, and covers your base.
4. Consider Variable ND Filters — With Caution
Variable ND filters let you dial in the exact strength by rotating the filter. They’re convenient but can introduce color banding at maximum settings. For drone work where precision matters, fixed-strength filters often perform more consistently.
How to Use ND Filters in the Field
Using ND filters effectively comes down to knowing your exposure basics.
Step-by-step for video:
- Set your frame rate (24fps for cinematic, 30fps for standard)
- Set your shutter to double the frame rate (1/50 for 24fps, 1/60 for 30fps)
- Adjust ISO to minimum and aperture as needed
- Note your exposure reading
- Attach your ND filter and recheck exposure
- Adjust ISO or aperture to compensate until you’re back at target
Common mistakes to avoid:
- Not checking exposure after adding the
Related guides
Drone Flight School: Best Training Programs 2026
